


Trailrider
Bachelor Dog
Belmont & Graspan
When the war broke out, one of the Boers' early targets was the diamond-mining centre of Kimberley.
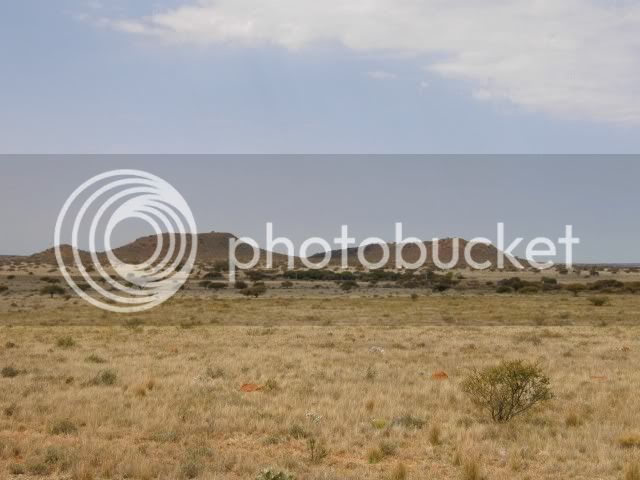
Lord Methuen’s task with his division was to force his way north up the railway to raise the Boer siege of Cecil Rhodes’s diamond town, Kimberley. Arriving at Belmont station it was apparent that the Boers were in position on the range of Belmont hills behind the road to the North.
Size of the armies: 8,000 British against 2,000 Boers from the Transvaal and the Free State.
The Boers opened fire on the exposed lines of Guardsmen stretching across the open ground at the bottom of the hillside. The 9th Brigade also found themselves in open veldt when dawn broke. The two brigades launched their attack from the open ground up onto the hills under heavy rifle fire from the Boers entrenched on the crest. The Boers did not wait for the final bayonet attack, hurrying away down the far hillside to where their ponies were tethered and riding back to the next line of hills, pursued for some distance by a small force of 9th Lancers and Mounted Infantry.
Following the battle for Belmont the Boers fell back to the next station on the line, Graspan, where the fighting was similar in pattern. The way was now open for Methuen to reach the Modder River; within striking distance of Kimberley.
Casualties: British casualties at Belmont were 200 and at Graspan 197. Boer casualties at each battle are unknown but are thought to have been slight.
Belmont:


Graspan:
When the war broke out, one of the Boers' early targets was the diamond-mining centre of Kimberley.
Lord Methuen’s task with his division was to force his way north up the railway to raise the Boer siege of Cecil Rhodes’s diamond town, Kimberley. Arriving at Belmont station it was apparent that the Boers were in position on the range of Belmont hills behind the road to the North.
Size of the armies: 8,000 British against 2,000 Boers from the Transvaal and the Free State.
The Boers opened fire on the exposed lines of Guardsmen stretching across the open ground at the bottom of the hillside. The 9th Brigade also found themselves in open veldt when dawn broke. The two brigades launched their attack from the open ground up onto the hills under heavy rifle fire from the Boers entrenched on the crest. The Boers did not wait for the final bayonet attack, hurrying away down the far hillside to where their ponies were tethered and riding back to the next line of hills, pursued for some distance by a small force of 9th Lancers and Mounted Infantry.
Following the battle for Belmont the Boers fell back to the next station on the line, Graspan, where the fighting was similar in pattern. The way was now open for Methuen to reach the Modder River; within striking distance of Kimberley.
Casualties: British casualties at Belmont were 200 and at Graspan 197. Boer casualties at each battle are unknown but are thought to have been slight.
Belmont:
Graspan: