


- Joined
- Dec 15, 2008
- Messages
- 6,688
- Reaction score
- 744
- Location
- Port Elizabeth
- Bike
- BMW R1200GS Adventure
Easter weekend for my wife and I is usually spend somewhere remote, either on the Wild Coast or up in the mountains somewhere. This year however, as for many, was a little different. So I spent the weekend making a catch can for my Land Cruiser.
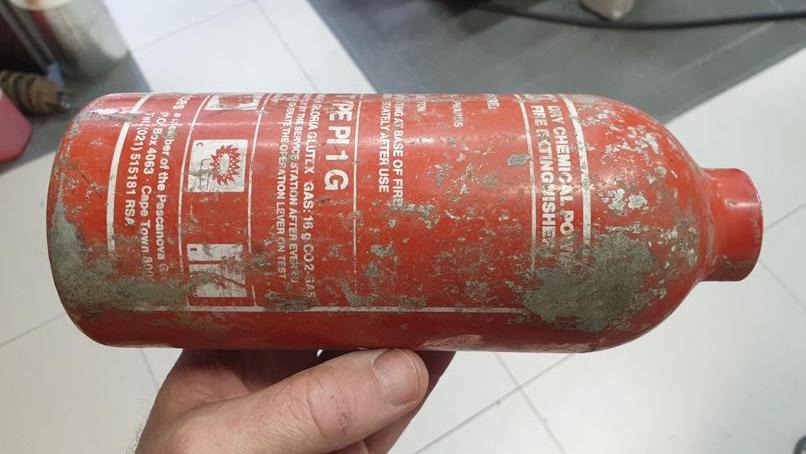
In my scrap pile I came across this old fire extinguisher. It was roughly the right size and, as a bonus, it has an aluminium canister.
First the top came off
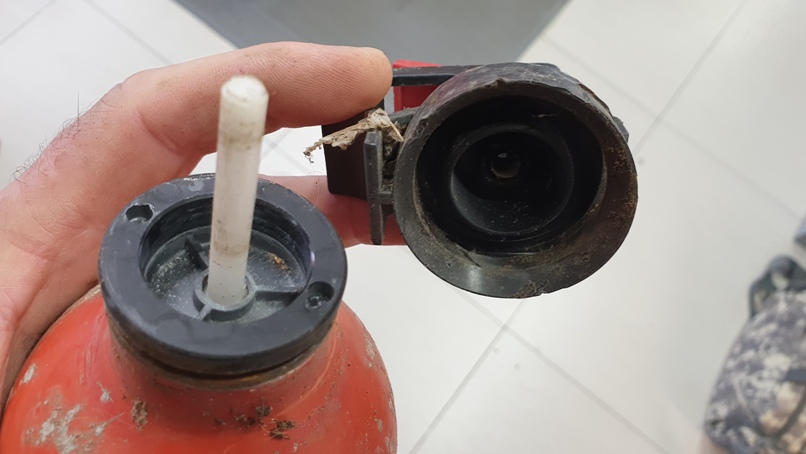
The guts extracted
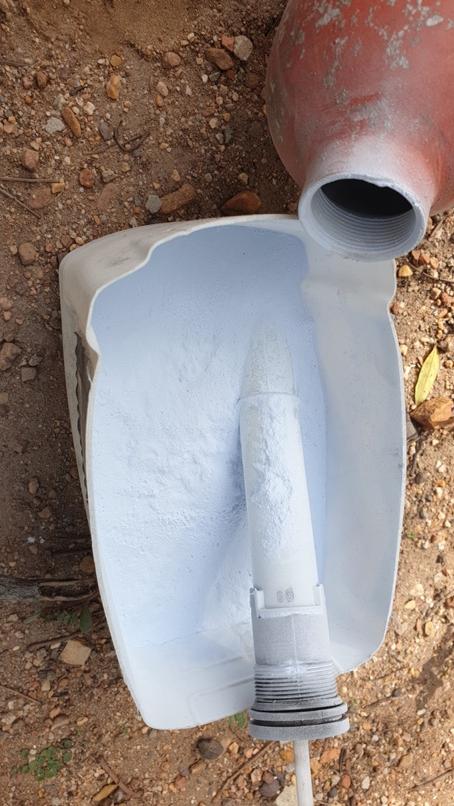
And the powder emptied
This is where I began.
I must admit that there was very little planning and design involved and I was basically just making it up as I went along. The idea was to have the can in two halves, so that it can be opened and cleaned out periodically. It would have some filter media inside, most likely Goldilocks or something similar. I have come across one brand that is actually a complete spiral without little bits floating around.
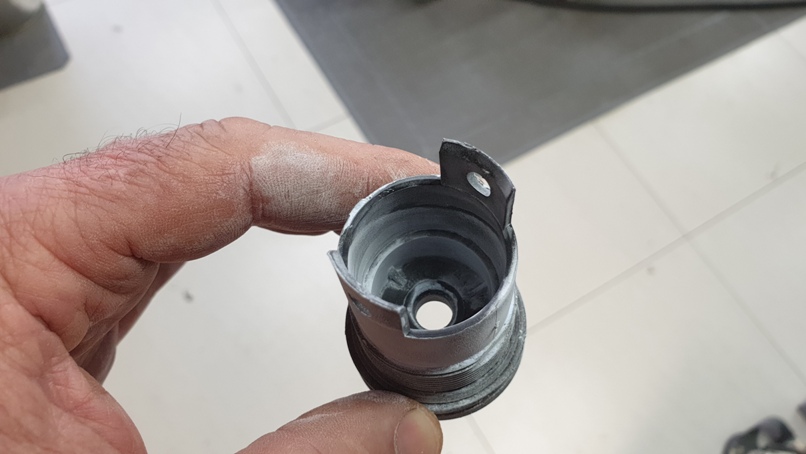
The canister will be inverted, with the screw cap at the bottom. Since it already has a hole in it, that will, with a bit of modification, be utilized for the drain pipe.
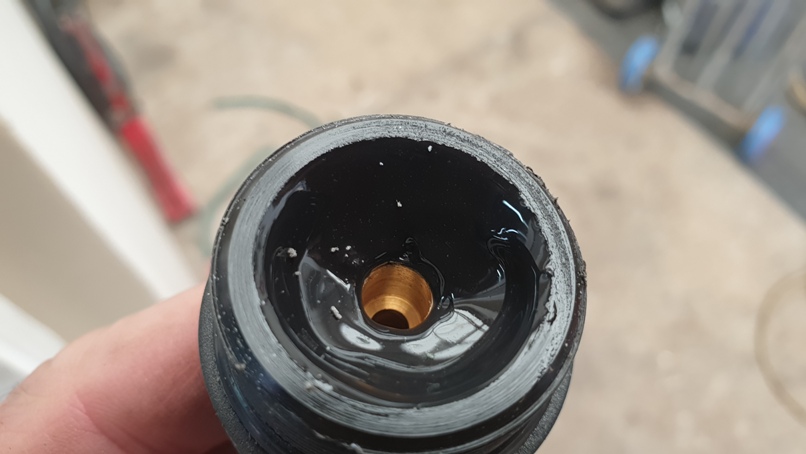
This is the top cap, with the existing hole.
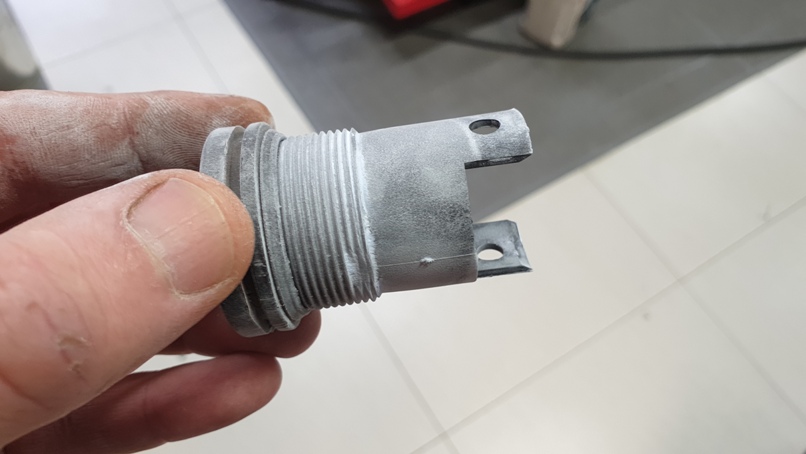
The extra wings were removed, so that it looks like this.
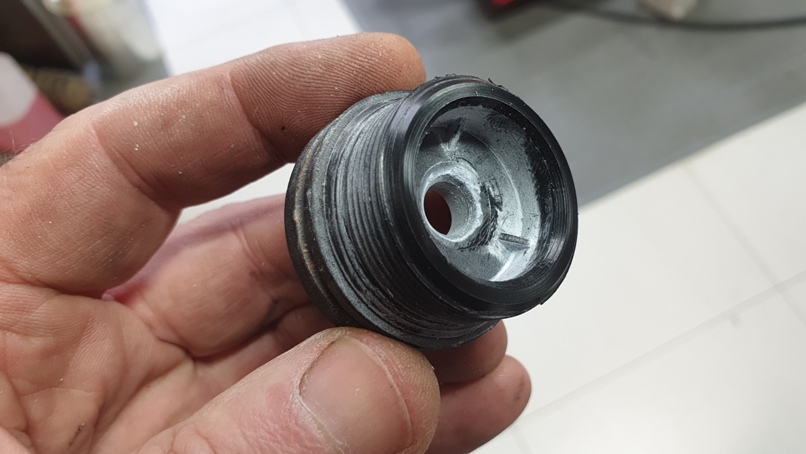
In my scrap drawer, I found this little fitting
Which turns out to be a perfect fit.
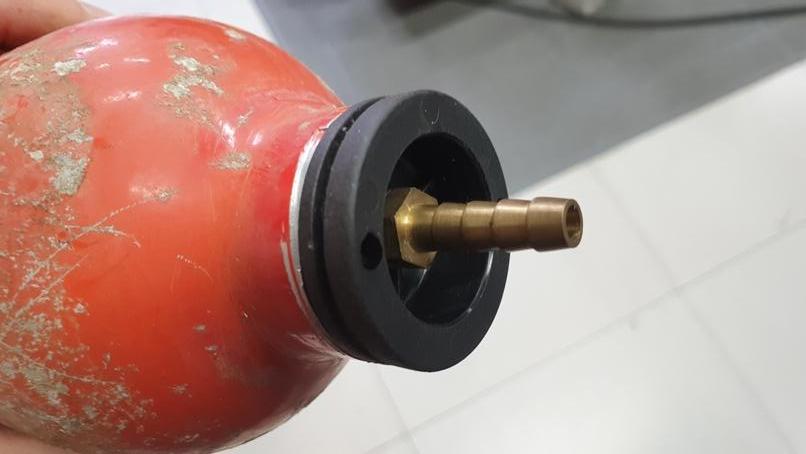
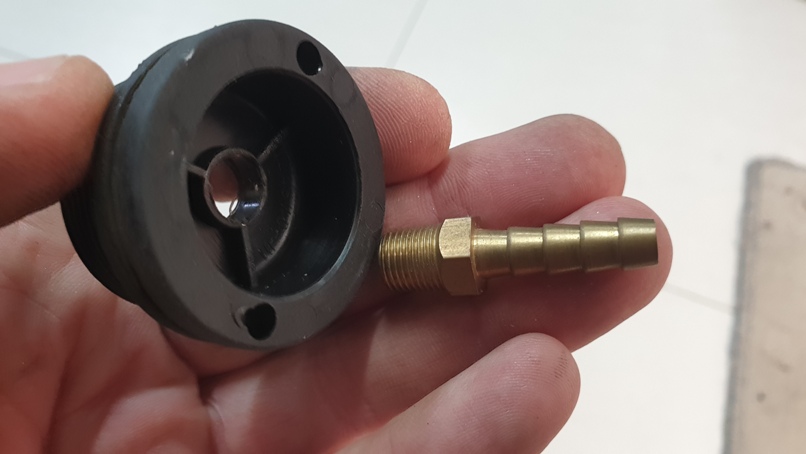
The inside was doctored with a little Wonder Fix Auto to form a nice funnel to the fitting.
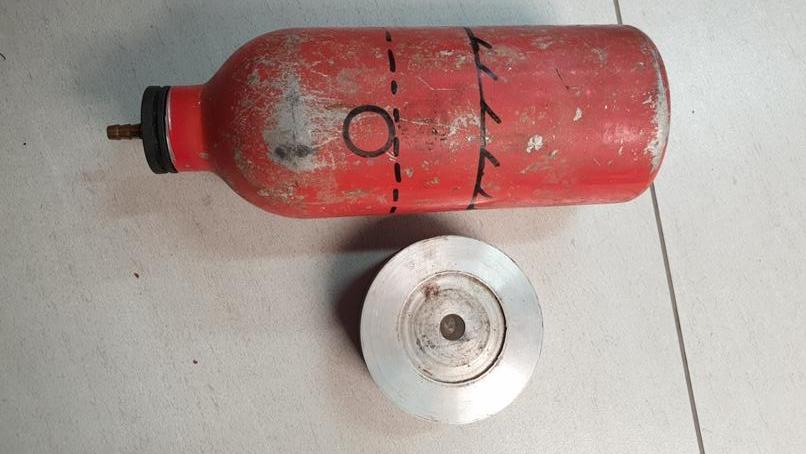
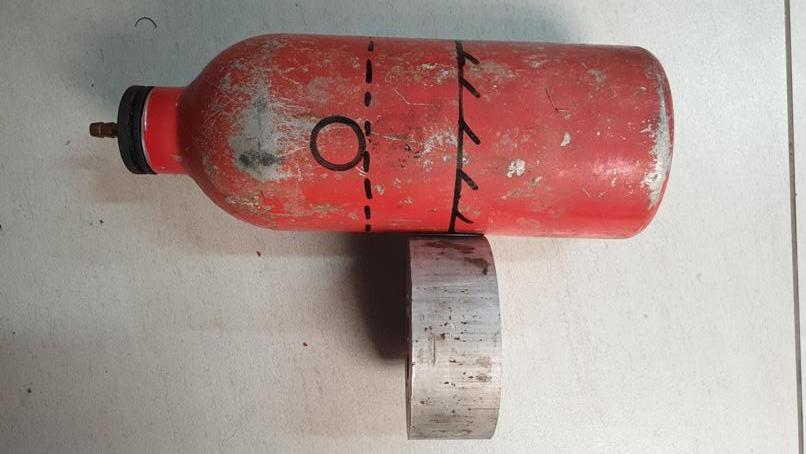
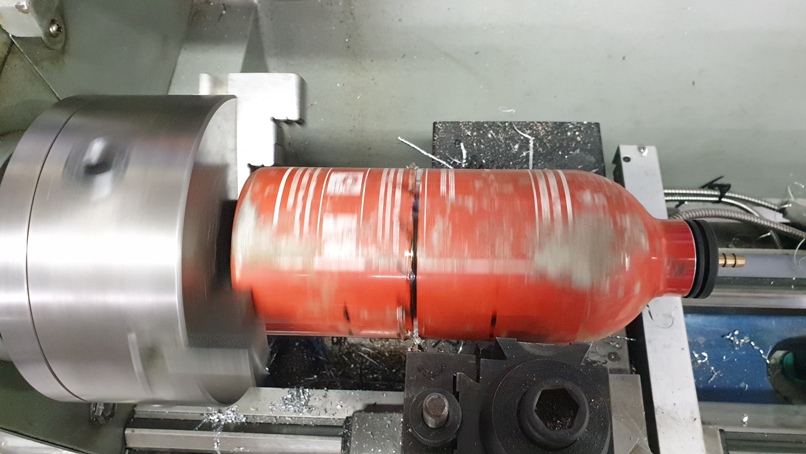
So now the canister. The plan is to cut the canister on the solid line and use the piece of scrap aluminium from my scrap pile to make a collar that will again join the two halves together. The small circle will most likely be where the inlet will be, with a baffle holding the Filter in place roughly where the dotted line is.
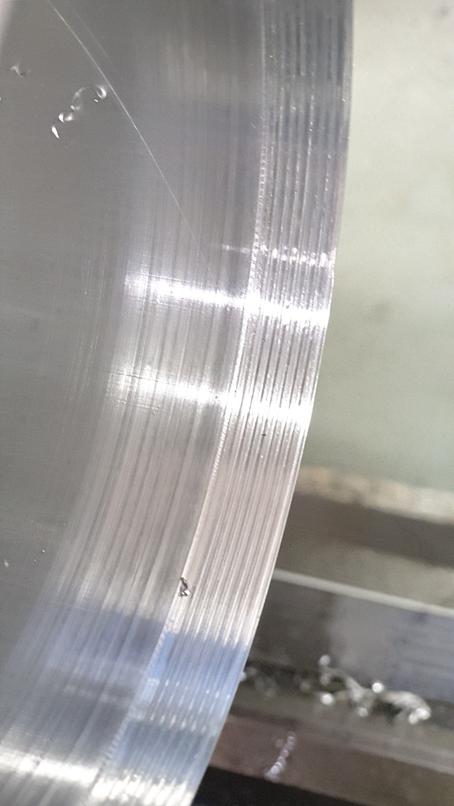
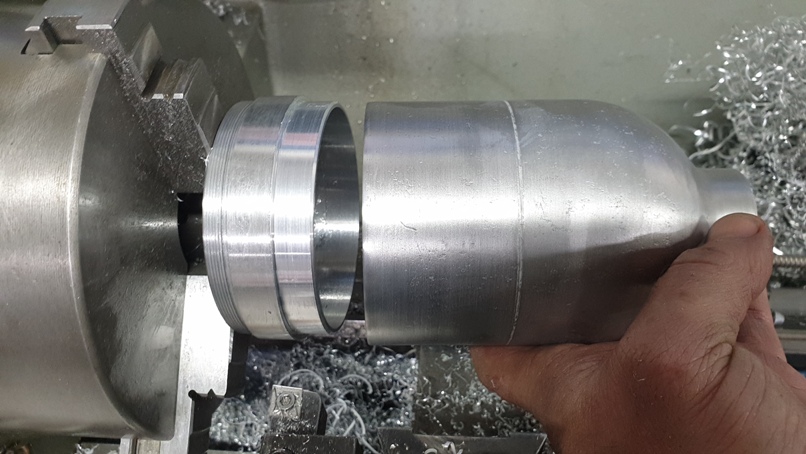
Ready to cut. I parted it in the lathe to get a nice straight cut.
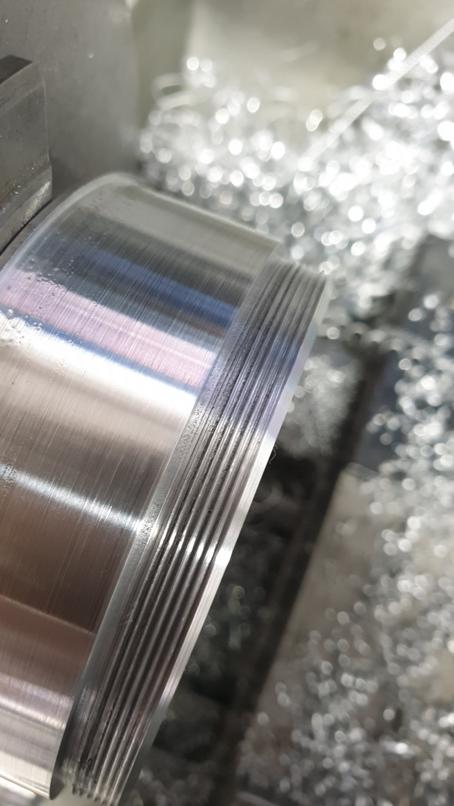
What will eventually be the upper cap was threaded on the inside
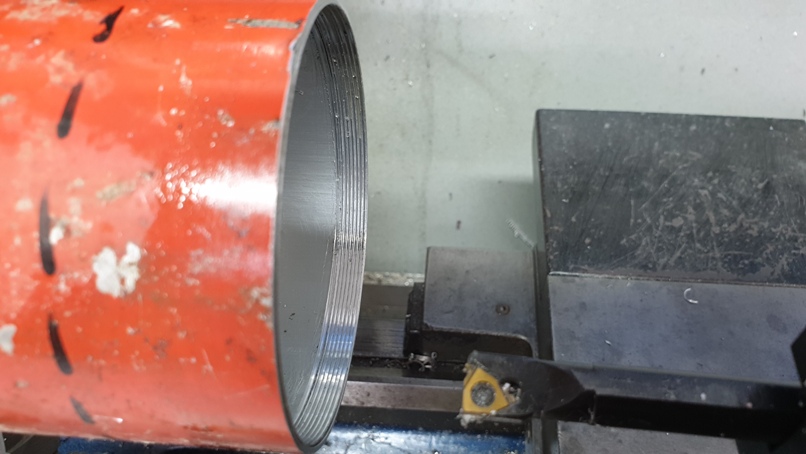
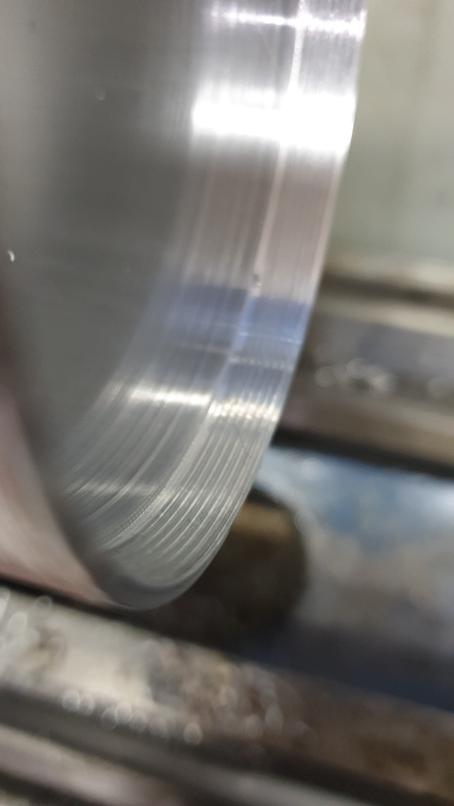
The chunk of aluminium was then turned down to size
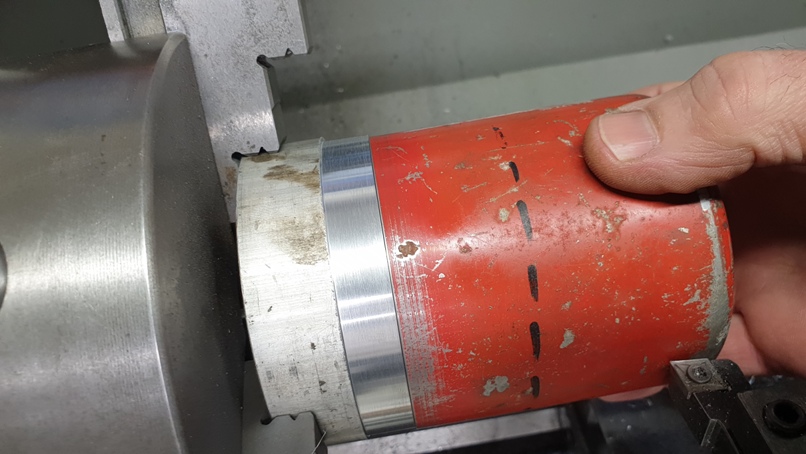
And the one end threaded to accommodate the top cap.
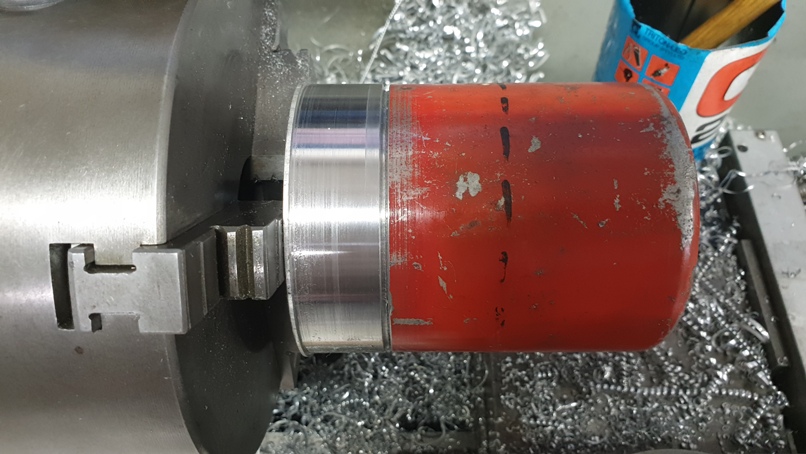
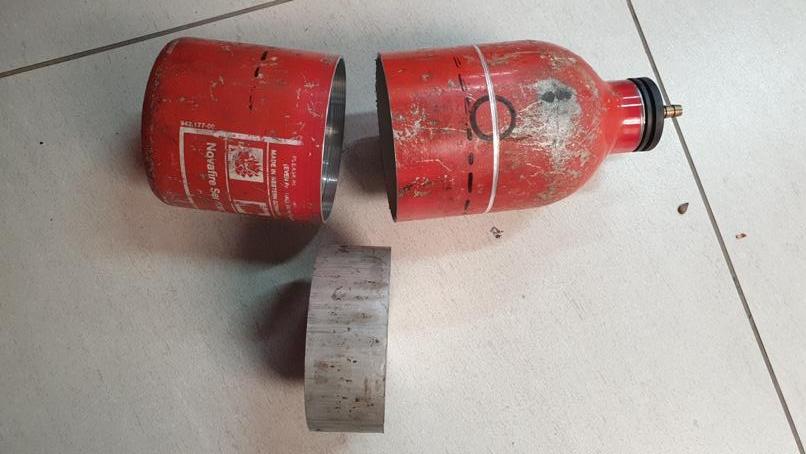
The other side was turned down to fit snugly inside what would be the lower half. This will eventually be welded in place.
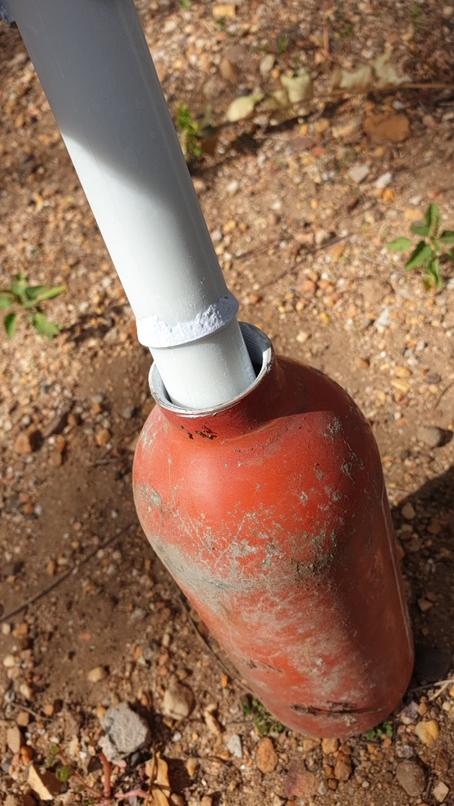
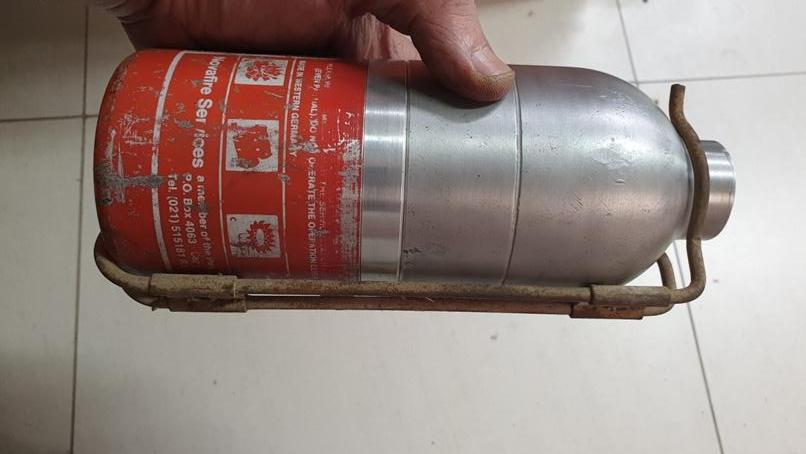
I had to trim off this piece in order to maintain the overall length of the canister, as I still had the original mounting bracket and would like to use that as the final mount.
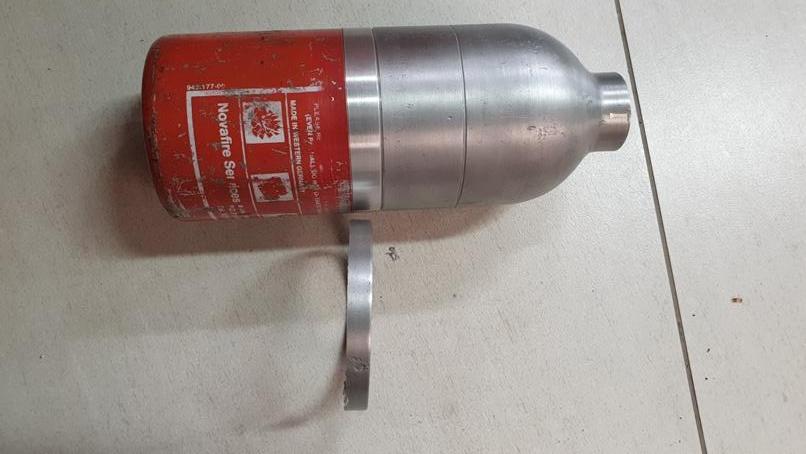
Here is the complete canister with the mounting bracket.
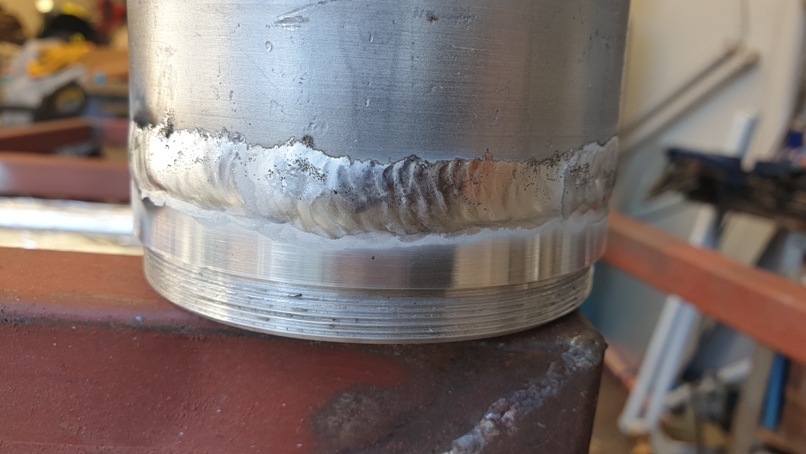
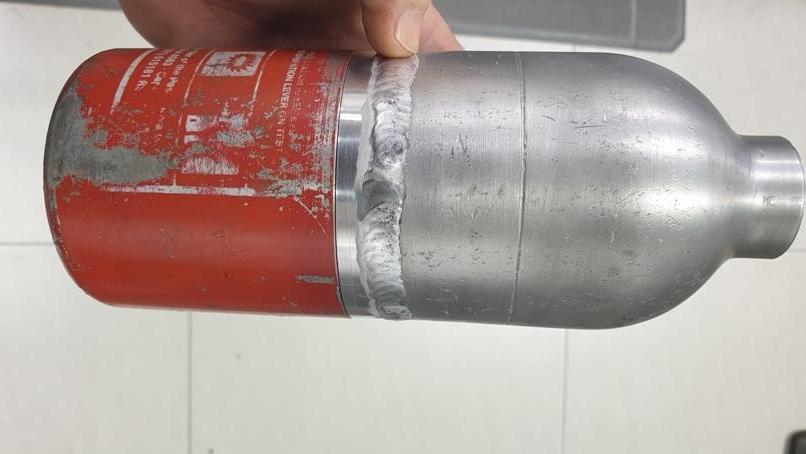
The collar welded in place
And the can re-assembled.
So today I will start on the pipes. The lower pipe will basically just have a 90° bend facing downward and not really an issue.
The upper fitting though is a bit of an issue, as I need to pipe facing in the correct direction in relation to the lower pipe once the can is assembled and fitted.
I will most likely make a swivel fitting protruding straight out the top with a 90°outlet. This will be able to swivel in any direction and will not be fixed. Will post some more when it it done.
In my scrap pile I came across this old fire extinguisher. It was roughly the right size and, as a bonus, it has an aluminium canister.
First the top came off
The guts extracted
And the powder emptied
This is where I began.
I must admit that there was very little planning and design involved and I was basically just making it up as I went along. The idea was to have the can in two halves, so that it can be opened and cleaned out periodically. It would have some filter media inside, most likely Goldilocks or something similar. I have come across one brand that is actually a complete spiral without little bits floating around.
The canister will be inverted, with the screw cap at the bottom. Since it already has a hole in it, that will, with a bit of modification, be utilized for the drain pipe.
This is the top cap, with the existing hole.
The extra wings were removed, so that it looks like this.
In my scrap drawer, I found this little fitting
Which turns out to be a perfect fit.
The inside was doctored with a little Wonder Fix Auto to form a nice funnel to the fitting.
So now the canister. The plan is to cut the canister on the solid line and use the piece of scrap aluminium from my scrap pile to make a collar that will again join the two halves together. The small circle will most likely be where the inlet will be, with a baffle holding the Filter in place roughly where the dotted line is.
Ready to cut. I parted it in the lathe to get a nice straight cut.
What will eventually be the upper cap was threaded on the inside
The chunk of aluminium was then turned down to size
And the one end threaded to accommodate the top cap.
The other side was turned down to fit snugly inside what would be the lower half. This will eventually be welded in place.
I had to trim off this piece in order to maintain the overall length of the canister, as I still had the original mounting bracket and would like to use that as the final mount.
Here is the complete canister with the mounting bracket.
The collar welded in place
And the can re-assembled.
So today I will start on the pipes. The lower pipe will basically just have a 90° bend facing downward and not really an issue.
The upper fitting though is a bit of an issue, as I need to pipe facing in the correct direction in relation to the lower pipe once the can is assembled and fitted.
I will most likely make a swivel fitting protruding straight out the top with a 90°outlet. This will be able to swivel in any direction and will not be fixed. Will post some more when it it done.