


Tweetie
Race Dog
- Joined
- Oct 30, 2008
- Messages
- 2,106
- Reaction score
- 0
- Location
- Centurion - South Africa
- Bike
- BMW R1200GS
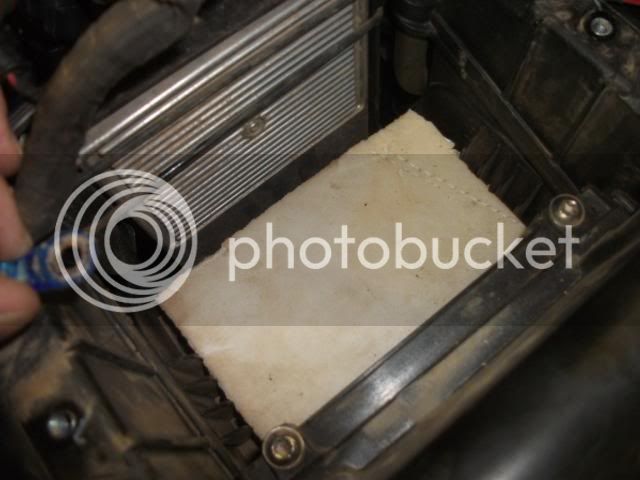
Old Lead Acid battery removed. Note the 20mm thick piece of white High Density Foam Sponge placed in the middle of the battery bay. (busy sizing this lot up.)

Cut out the piece of HD Foam Sponge 5mm large than the original batter. Lay this in the battery bay and ensure it fits snuggly all over
I found another piece of 10mm thick HD Foam Sponge in my garage and stuck that to the one side of the UltraBatt. This will make the UntraBatt fit real snuggly into the battery bay.
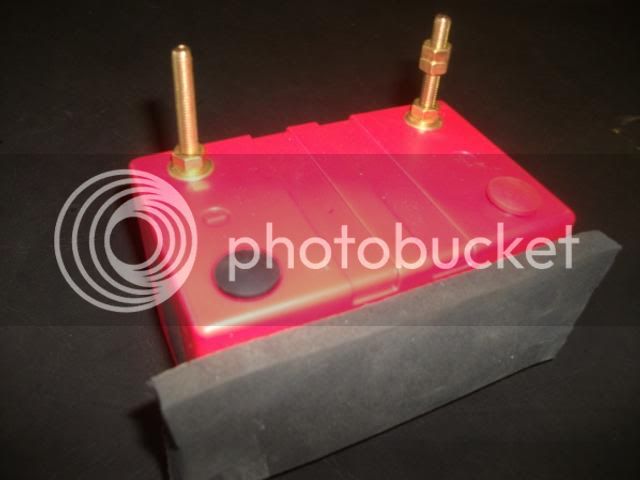
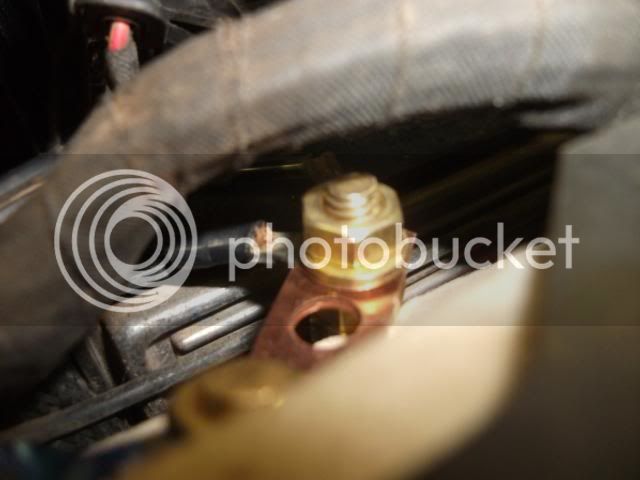
Both 6mm Brass pillars with heads cut off to create pillars for the battery poles, now installed.
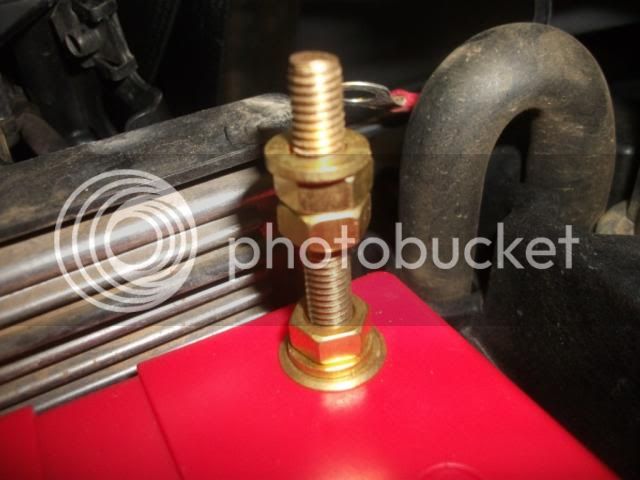
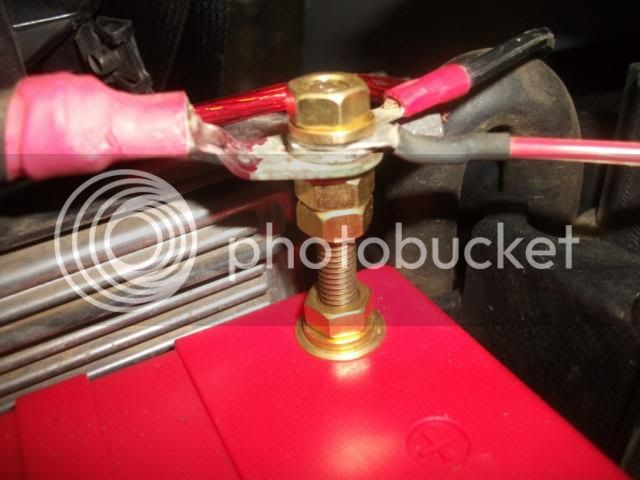
Close-Up view of the (+) positive pole / pillar
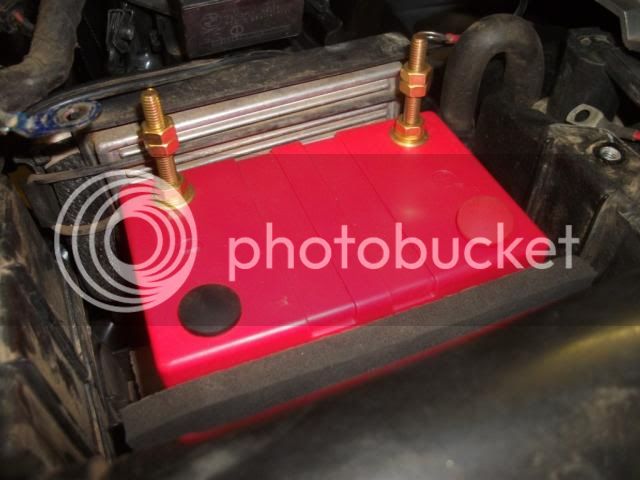
Another view with all the pillar heads attached.
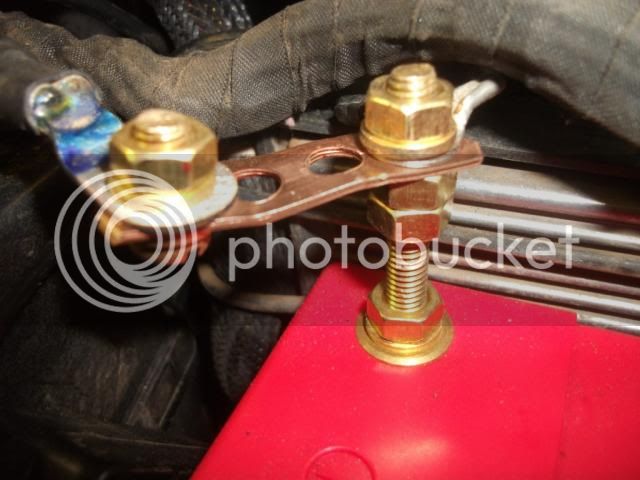
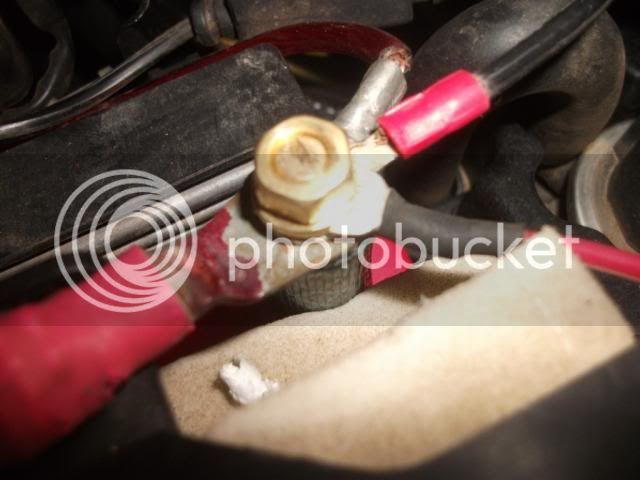
(-) Negative Pillar / pole with leads attached. Note the extension created , using three layers of piping earth strapping to connect the original (-) negative lead to the now new position of the (-) negative pole of the Ultrabatt. This earth trapping has pre-punched 6mm holes standard and is available at most hardware shops.
Further, note the (+) positive lead has a natural bend above the (-) negative pillar/pole, to ensure separation.
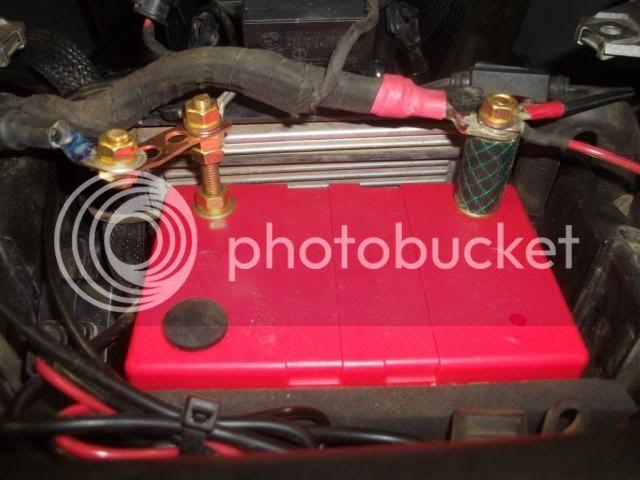
Good view of both pillars and poles with all connections. Note, I used a piece of ½” garden hose to insulate the entire (+) pillar / pole.
Further note in the left hand bottom area of the pic, I shoved the Garmin power supply in this crevice. Neat little spot for it now.
With the battery in place, and connected, I now cut 2 x suitable pieces of the 20mm thick HD foam sponge to place on top of the battery, under the plastic “bolt down” bracket of the original battery.
I had to make a longer (+) positive pillar to suite the harness once the “hold down” bracket was placed in position. Looks real good now .
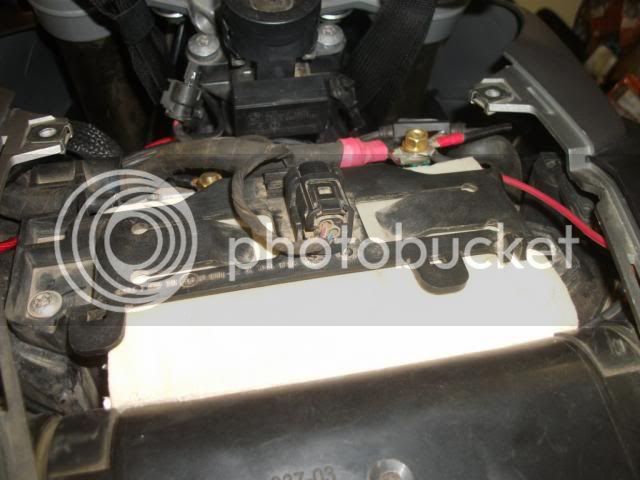
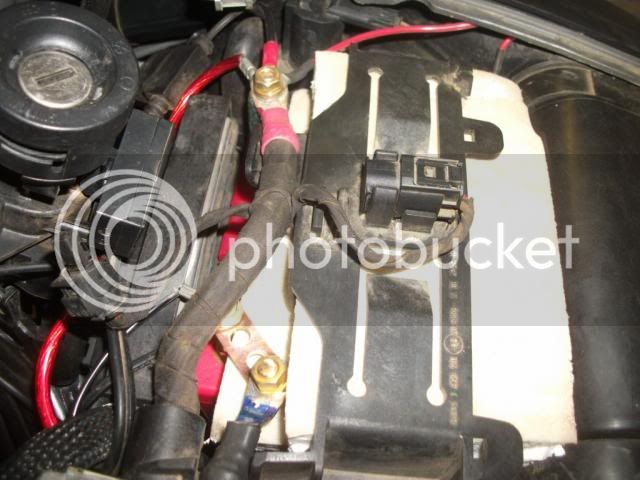
Top view of the (+) positive pillar/pole, once the once the top HD Foam Sponge and hold down bracket has been installed.
Top view of the (-) negative pillar/pole. One can now clearly see the (+) positive lead harness passing well clear above the (-) negative pillar / pole now. EXCELLENT
Conclusion
I am very happy with this installation. As this battery has a 3-year warranty and said to have a life expectancy of 6 – 8 years, I doubt I will be “going down” here again in a hurry. :thumleft:
:biggrin:
Cut out the piece of HD Foam Sponge 5mm large than the original batter. Lay this in the battery bay and ensure it fits snuggly all over
I found another piece of 10mm thick HD Foam Sponge in my garage and stuck that to the one side of the UltraBatt. This will make the UntraBatt fit real snuggly into the battery bay.
Both 6mm Brass pillars with heads cut off to create pillars for the battery poles, now installed.
Close-Up view of the (+) positive pole / pillar
Another view with all the pillar heads attached.
(-) Negative Pillar / pole with leads attached. Note the extension created , using three layers of piping earth strapping to connect the original (-) negative lead to the now new position of the (-) negative pole of the Ultrabatt. This earth trapping has pre-punched 6mm holes standard and is available at most hardware shops.
Further, note the (+) positive lead has a natural bend above the (-) negative pillar/pole, to ensure separation.
Good view of both pillars and poles with all connections. Note, I used a piece of ½” garden hose to insulate the entire (+) pillar / pole.
Further note in the left hand bottom area of the pic, I shoved the Garmin power supply in this crevice. Neat little spot for it now.
With the battery in place, and connected, I now cut 2 x suitable pieces of the 20mm thick HD foam sponge to place on top of the battery, under the plastic “bolt down” bracket of the original battery.
I had to make a longer (+) positive pillar to suite the harness once the “hold down” bracket was placed in position. Looks real good now .
Top view of the (+) positive pillar/pole, once the once the top HD Foam Sponge and hold down bracket has been installed.
Top view of the (-) negative pillar/pole. One can now clearly see the (+) positive lead harness passing well clear above the (-) negative pillar / pole now. EXCELLENT
Conclusion
I am very happy with this installation. As this battery has a 3-year warranty and said to have a life expectancy of 6 – 8 years, I doubt I will be “going down” here again in a hurry. :thumleft:
:biggrin: